
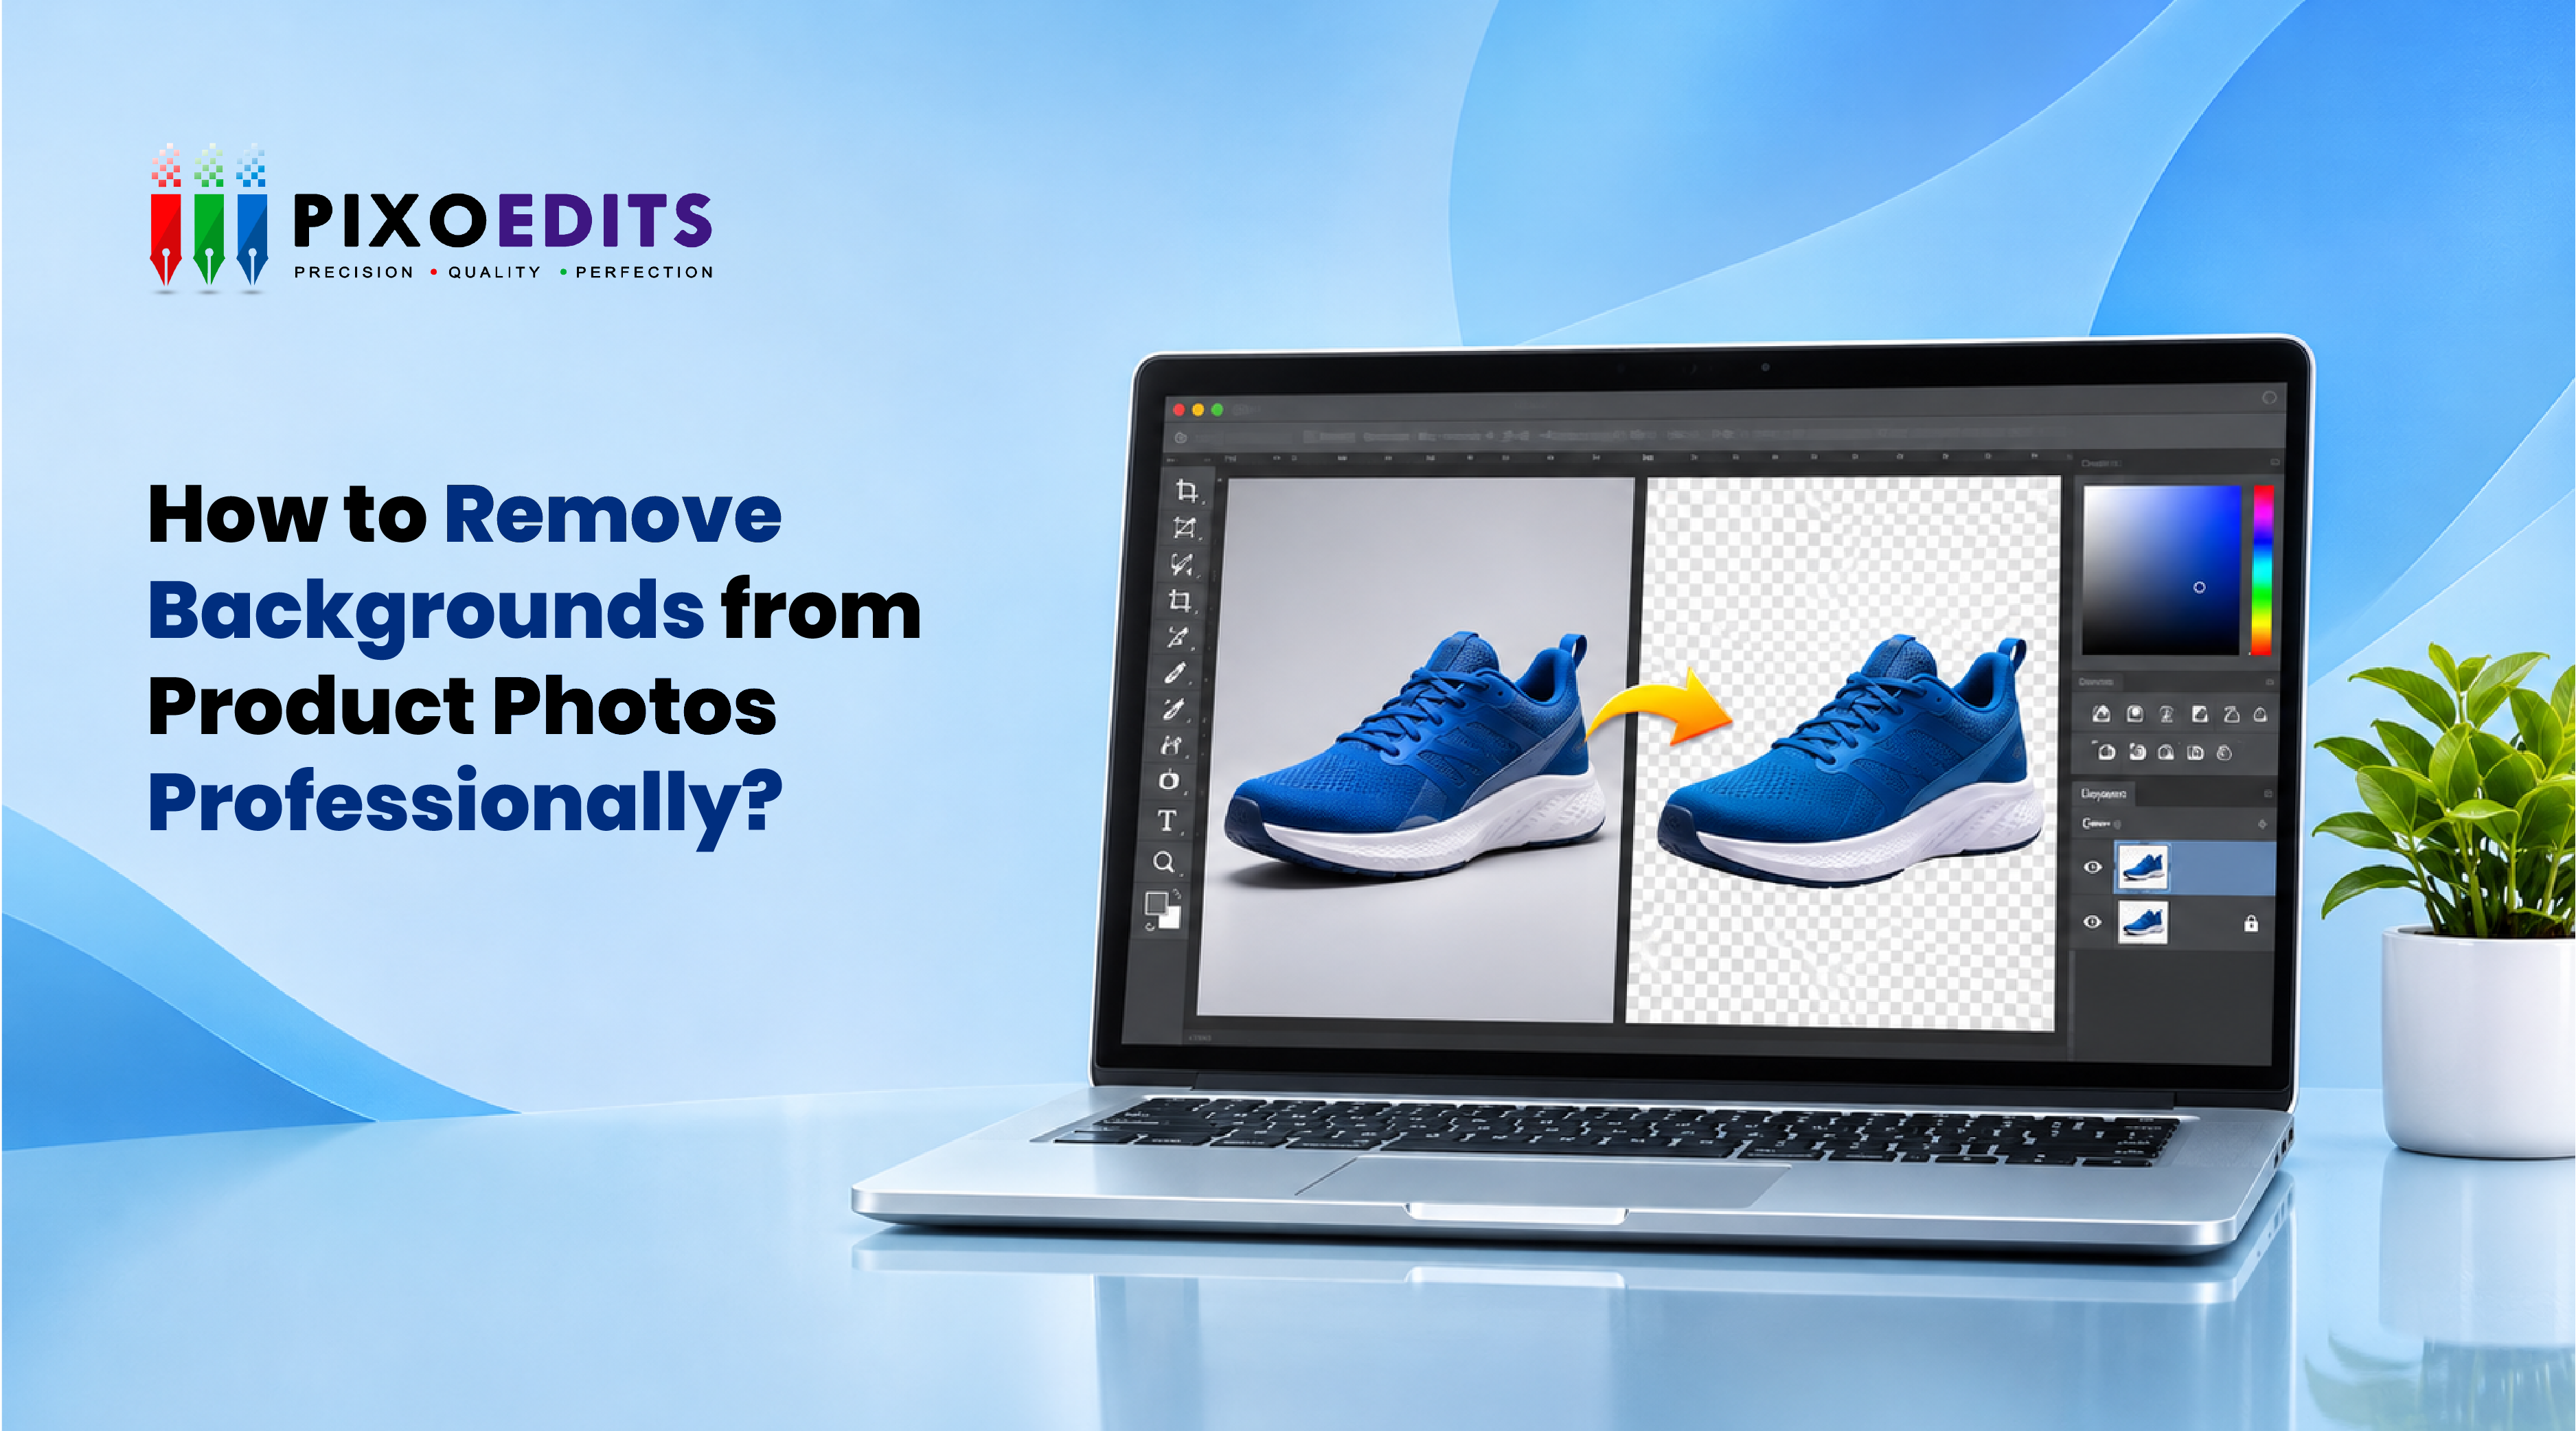
How to Remove Backgrounds from Product Photos Professionally (Without the Cardboard-Cutout Look)
We have all seen it: a product that looks like it was cut out of a magazine with kitchen scissors and stuck onto a white page. The edges are jagged, there is a pale glow around the outline, and the whole thing floats in space like it has never met gravity.
The good news is that a professional-looking cutout is not magic. It is a process. Here is how it is done, step by step, so you can either do it properly yourself or know exactly what to expect from someone else.
Step 0: Shoot for the Edit
The best background removal starts before the camera clicks. A few habits save hours later:
Use a plain background that contrasts with the product. Black shoes on black paper make everyone's life harder.
Light the product evenly so edges are visible and shadows are soft.
Shoot at the highest resolution you can. More pixels means more accuracy at the edge.
Leave breathing room around the product. Do not crop tight.
Wipe away dust and fingerprints. It is cheaper than retouching them.
Step 1: Pick the Right Method for the Subject
Where do AI tools fit? They are a reasonable first pass for simple, high-contrast products and a quick way to preview a result. Check the edges at 100% zoom before trusting them, especially around thin parts, holes and shadows. Anything customer-facing or high-volume usually still needs a human check.
This is the decision that shapes everything else.
Hard-edged products like bottles, shoes, electronics and boxes suit a clipping path. Read more about what a clipping path is.
Soft-edged subjects like fur, hair, sheer fabric and glass need masking. We explain how it works and what image masking is.
Mixed subjects, like a model in a structured jacket with wavy hair, usually need both. Our comparison of clipping path vs image masking for hair and fur shows how they combine.
Still unsure how the options compare? See clipping path vs background removal.
Step 2: Build the Outline
For a path-based cutout, the editor zooms in tight, often to 200% or more, and places anchor points around the product. Curves are adjusted so the line follows every bend without wobbling. A good rule is to use as few points as possible. Too many make the edge lumpy. Too few cut corners off the product.
Then come the inner paths, which people forget. The gap in a handle, the space between chain links, and the opening of a bag strap: each one needs its own sub-path, so the old background is removed there too. Skip them and a patch of backdrop stays trapped inside your product.
Step 3: Clean the Edge
A cutout is only as good as its edge. Professionals check for:
Halos: a light fringe left over from the original background
Dark fringing: the opposite problem, usually from a dark backdrop
Colour spill: tints from the old background bleeding into the product's edge
Stair-stepping: tiny jagged edges that show up when zoomed
A small contract (about 1 px) and a very light feather (a pixel or less) on the selection, plus a bit of manual cleanup, usually fixes these. It is fiddly, but this is where an amateur cutout becomes a professional one.
Step 4: Decide What to Do About Shadows
Here is a mistake that makes products look fake: removing every trace of shadow. A product on a pure white background with no shadow at all looks like it is hovering. Real products touch the ground.
So the choice is between keeping the original shadow, rebuilding a soft natural one, or using no shadow when a marketplace demands it. For jewellery, the shadow decision is especially delicate, which is why we spend time on it in clipping path for jewellery images.
Step 5: Test on More Than One Background
This is the step that separates a rushed job from a careful one. A cutout that looks perfect on white can fall apart on navy blue. Drop the product onto white, black and a bright colour. If a halo or rough edge appears anywhere, go back and fix it.
Step 6: Export Properly
White background JPEG for marketplaces and standard product pages
Transparent PNG for banners, ads and colour-flexible layouts (JPEG cannot hold transparency)
Layered PSD kept safely as your master file, so changes later take seconds
Keep the saved path inside the master file. It is a reusable asset. You can switch backgrounds or change sizes later without redoing the work.
Common Mistakes to Avoid
Using a hard path on hair or fur, which creates a plastic helmet effect
Ignoring inner holes in handles, chains and straps
Leaving a halo that only appears on coloured backgrounds
Removing the shadow completely so the product floats
Treating every image in a batch slightly differently
Is It Worth Doing Yourself?
For ten photos, yes, it is a good skill to have. For hundreds of SKUs, the maths changes. Hand-drawn paths are slow by nature, and consistency across a large catalogue is where most in-house efforts wobble. That is the point where many brands hand it over.
The Bottom Line
Professional background removal is less about one clever tool and more about a chain of small, careful decisions: how it is shot, which method fits, how clean the edge is, and how the product sits in its new surroundings. Get those right and nobody will ever think about the background, which is exactly the goal.
Ready to hand off the cutting? PixoEdits’ Photoshop artists draw clipping paths by hand, mask tricky edges and deliver product photo editing in bulk. Explore our clipping path, image masking and product photo editing services, or start with 10 free credits.
 Quick Response
 Secure & Confidential