Clipping Path vs Background Removal: Why Everyone Mixes Them Up (and Why It Can Cost You)
Ask five online sellers what the difference is between a clipping path and background removal, and you will probably get five slightly confused answers. The two terms get used as if they mean the same thing. They do not.
One is what you want. The other is one way of getting it. Mix them up and you either overpay for a job that needed a quick fix or underinvest in a job that needed real craft. Let's untangle it.
The Short Answer
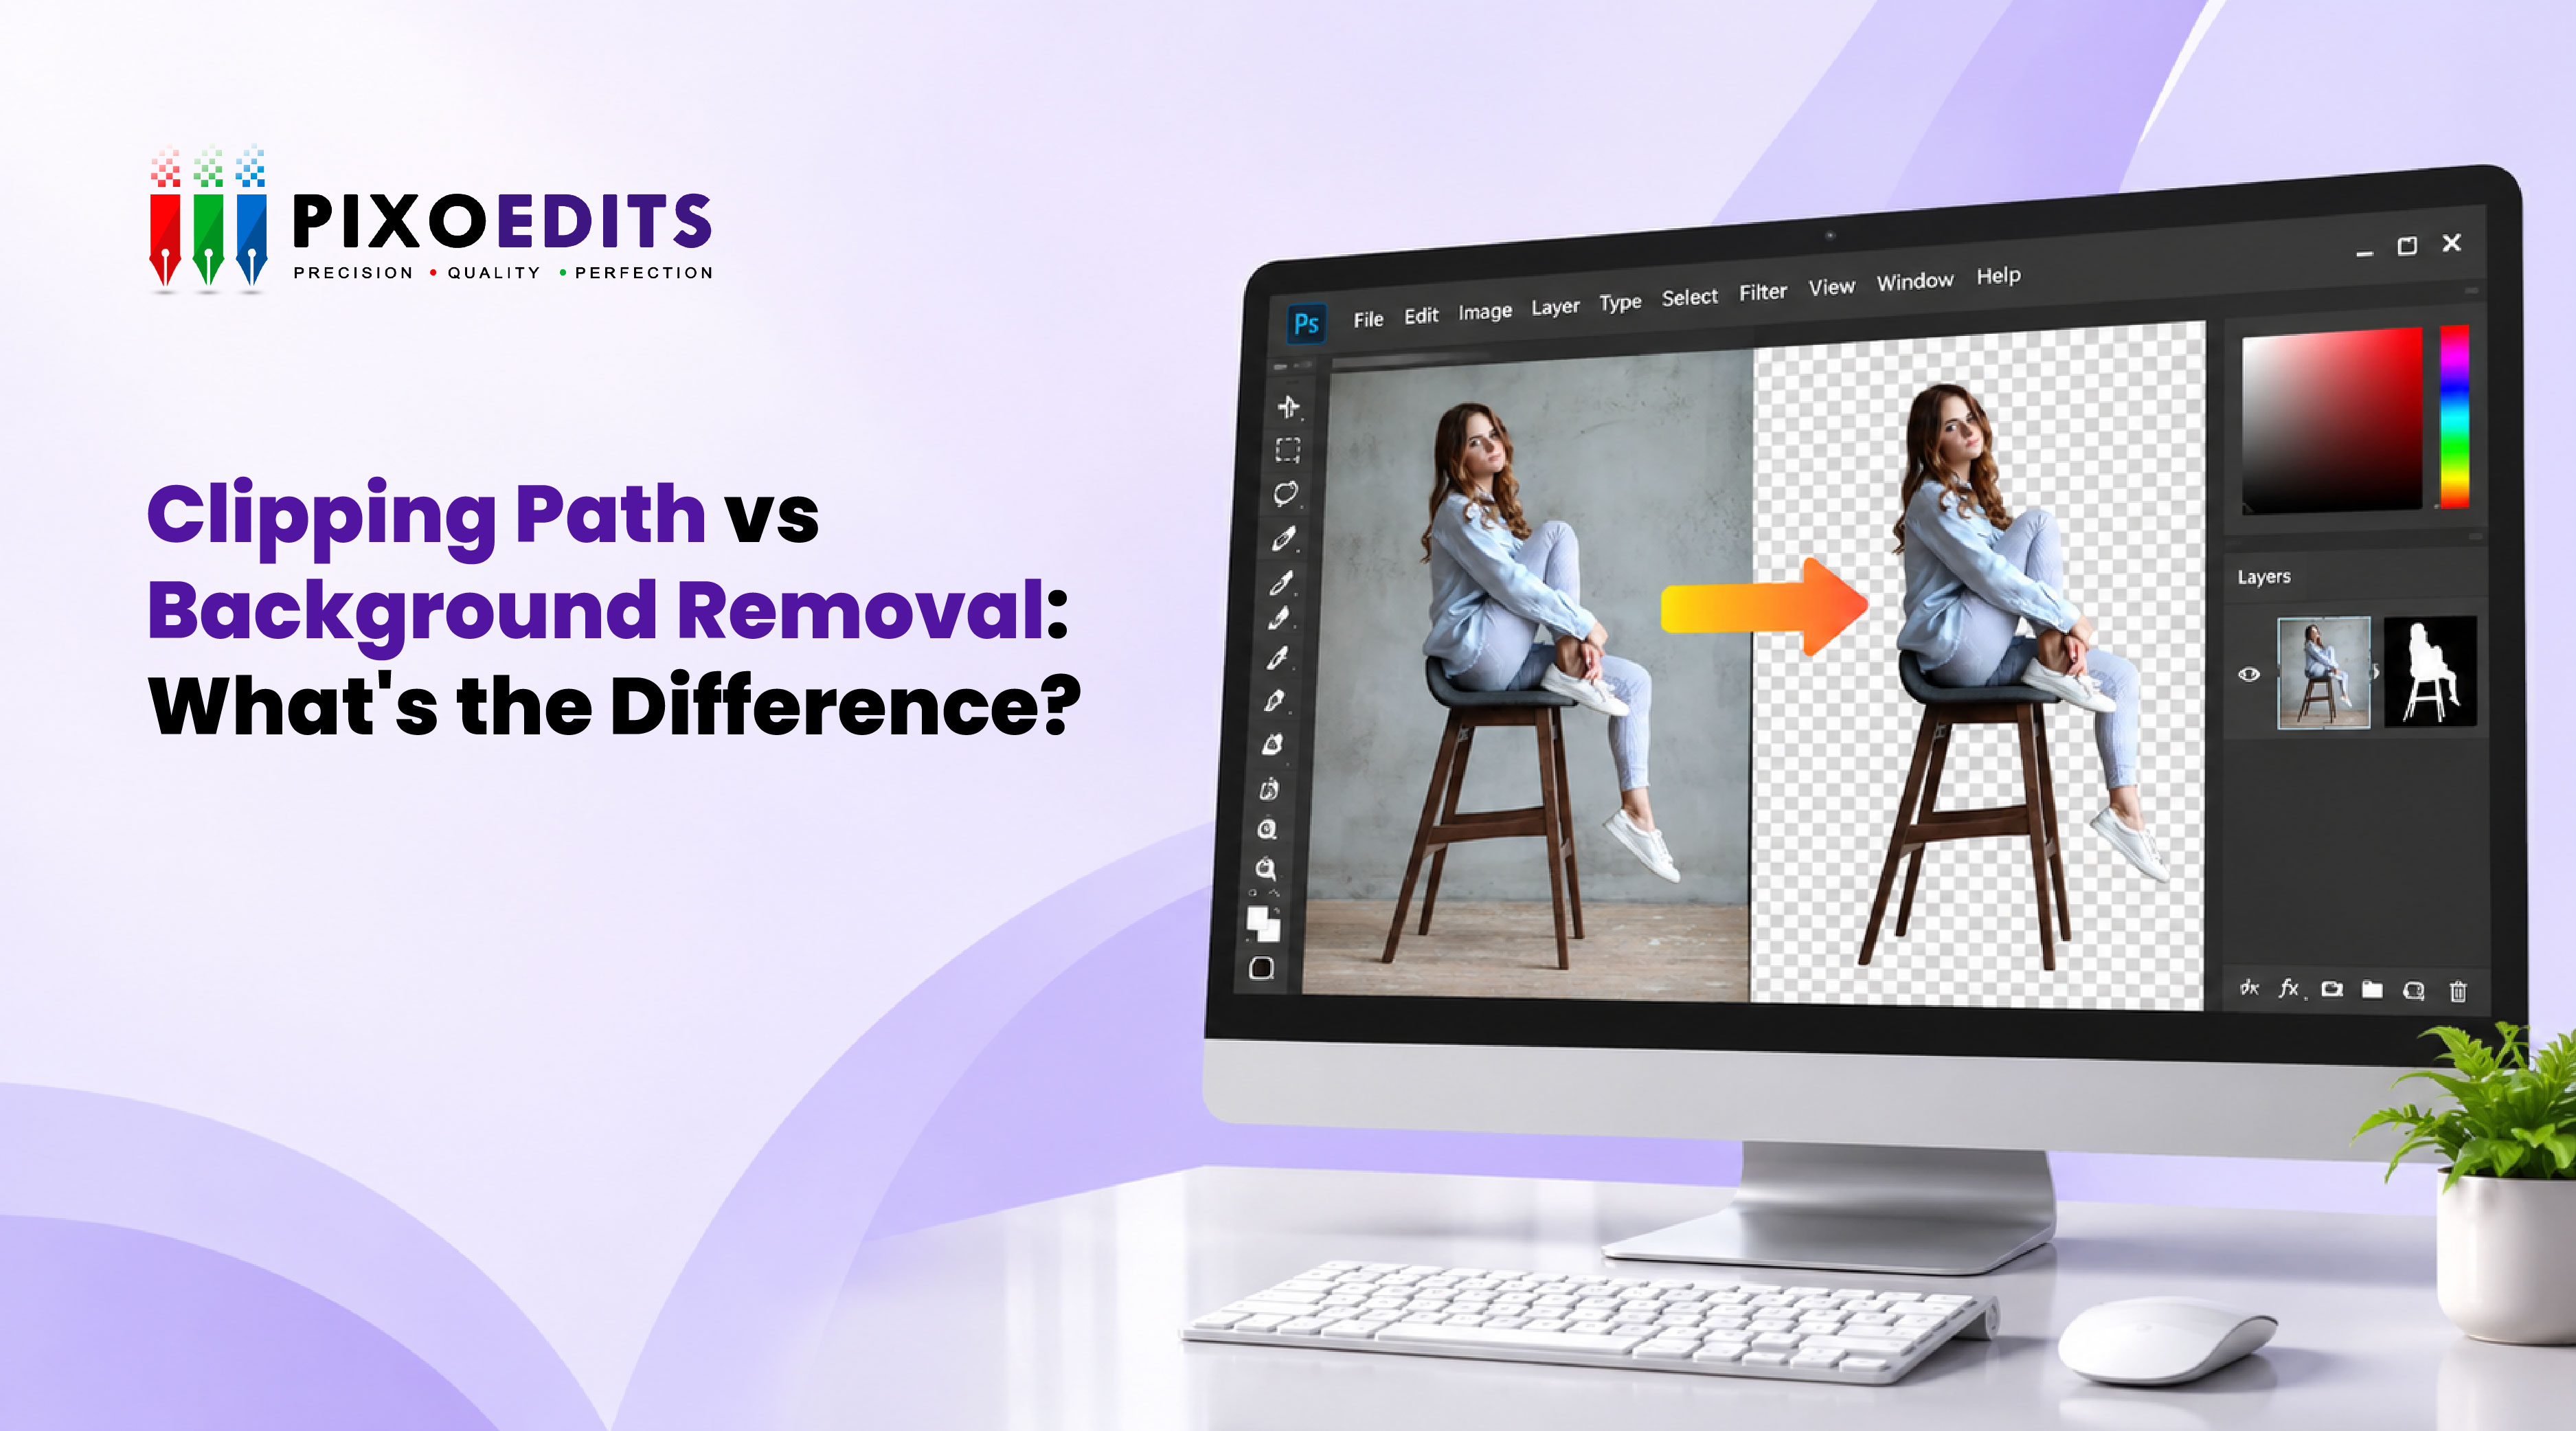
Background removal is the goal: keep the subject, lose everything behind it.
A clipping path is a method: a hand-drawn vector outline, made with the Pen Tool in Photoshop, that separates the subject from its surroundings.
Think of it like "getting to the airport" versus "taking a taxi". The taxi is one way to get there. You could also take a train, a bus or a very ambitious bicycle. Background removal has its own list of routes, and a clipping path is only one of them.
The Four Common Ways a Background Gets Removed
- AI one-click tools: Upload, wait a few seconds, download. These tools use machine learning to predict where the subject ends. Fast, but quality varies from image to image.
- Selection tools. Photoshop’s Quick Selection or Magic Wand, which select by colour and contrast. Select Subject is AI-assisted. All of them usually need manual cleanup.
- Clipping path. An editor draws a precise outline by hand, point by point.
- Image masking. A paintable, greyscale stencil that keeps soft details like hair and fur.
Each one trades speed against control. The faster the method, the more you are trusting the software to guess correctly.
What a Clipping Path Does Differently
A clipping path is built from anchor points joined by curves. The editor zooms in, places points along the edge of the product and bends each curve until the line hugs the shape. Because the outline is vector-based (maths, not pixels), the path itself stays crisp at any size, so the edge follows it cleanly at whatever size you export.
The real difference is intent. An AI tool predicts where the edge is. A person decides, and can correct it. If you want the full walkthrough, we explain what a clipping path is.
That decision-making is also why clipping paths give consistent results. Two hundred products can all get the same edge treatment, the same tightness and the same finish.
Where One-Click Removal Is Perfectly Fine
Let's be fair to automation, because it earns its place:
- A quick social media post that disappears from the feed in a day
- Internal presentations and mood boards
- Mockups and early concept drafts
- Testing a new product before you invest in full photography
If nobody will zoom in, and the image is not representing your brand for months, a quick cutout is a sensible choice.
Where It Quietly Falls Apart
AI tools can struggle when the image has to do real work, like sitting on a product page where shoppers zoom in. Results vary by image, but these are the usual trouble spots:
- Thin parts can disappear. Bag straps, handles, chain links and table legs get shaved or merged.
- Holes can get filled. The gap inside a handle or between chair slats turns into a solid patch of background.
- Shadows can confuse the tool. A dark area under a shoe might be a shadow to keep or part of the shoe. Software cannot always tell.
- Halos can appear. A faint light fringe that looks fine on white but jumps out on a coloured banner.
- Results can drift. The first image looks great. By image 187, the edges are slightly different every time.
That last one is the real killer. The problem is rarely the first image. It is the batch.
What About Hair, Fur and Glass?
Here is a twist. A clipping path draws one hardline, so it turns wispy hair into a smooth helmet. Neither a standard clipping path nor a basic one-click tool handles soft or see-through edges well. A path draws a hard line, so it turns wispy hair into a smooth helmet. For those subjects, you need masking, which can keep partial transparency. We cover that properly in what image masking is and in clipping path vs image masking for hair and fur.
A Quick Way to Choose
Ask yourself these questions in order:
- Does the product have hard, defined edges, like a bottle, shoe or gadget? A clipping path is usually the cleanest option.
- Does it have soft or semi-transparent edges, like fur, sheer fabric or glass? You need masking, or a mix of both.
- Is this a throwaway image nobody will scrutinise? A quick auto cutout is fine.
- Do you need hundreds of images to look like a matched set? Go for a human-drawn, path-based workflow.
If you want to go deeper on the first question, our guide on when to use a clipping path breaks down each situation.
The False Economy of "Free"
Auto tools look cheaper because the upload is free. But count the hidden hours. If you end up fixing one image in four by hand, you have quietly hired yourself as a retoucher at your own hourly rate, usually late at night.
The cheapest cutout is not the one that costs nothing. It is the one you only have to do once.
The Takeaway
Background removal is the destination. A clipping path is one of the best roads to get there when the subject has solid edges and the result needs to look finished. Use quick tools for quick jobs, paths for precision, masks for softness, and do not let anyone tell you they are all the same thing.
If you would rather skip the zooming and pixel-nudging, PixoEdits offers professional clipping path services and professional image masking services, done by hand, and is open to bulk uploads.
Whether your product needs a precise outline, a soft-edged mask or a full clean-up, PixoEdits can handle it. Explore our clipping path service for hard-edged products, our image masking service for hair, fur and glass, and our product photo editing service for consistent catalogues. Try it with 10 free credits.
 Quick Response
 Secure & Confidential